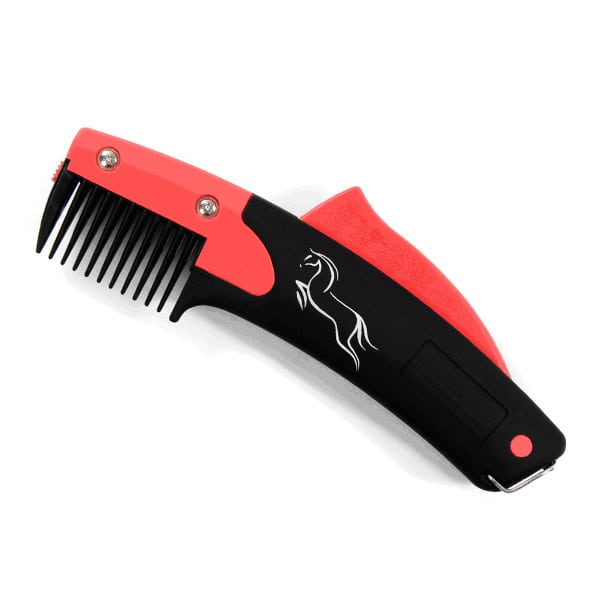

Description
Tips for Maintaining your SoloComb
- Before use, always check that the screws are secure and tighten if necessary.
- Many small cuts produce the best results and avoid damage to the precision engineered blades. DO NOT OVERLOAD THE COMB WITH HAIR.
- Remove the comb head and clean blades after each use. A toothbrush is ideal.
- If the blades are not cutting properly check that the screws are secure and have not worked their way loose during use. This could cause hair to become trapped in between the blades, giving the impression that the blades are blunt.
- Remove the blade cover and blades and clean away any hair that has become trapped. Refit the blades and blade cover ensuring that the screws are firmly and securely tightened (see full instructions below)
To clean or fit replacement blades:
- Release comb head lock.
- Slide head away from body.
- When the comb head has been carefully removed, brush off any dirt or trapped hair from the blades.
- The blades should be wiped with a damp cloth, or preferably a small brush (e.g. toothbrush), after each use.
To replace blades follow steps 1 and 2 above and then remove the fixing screws, blade cover and fixing plate. On re-assembling the SoloComb ensure that the screws are fully tightened.
NB Do not open the main casing as this will invalidate the warranty.
WD40 may be used very infrequently and very sparingly to ensure good lubrication.
NEVER use clipper blade oil.


Reviews
There are no reviews yet